Skip to content

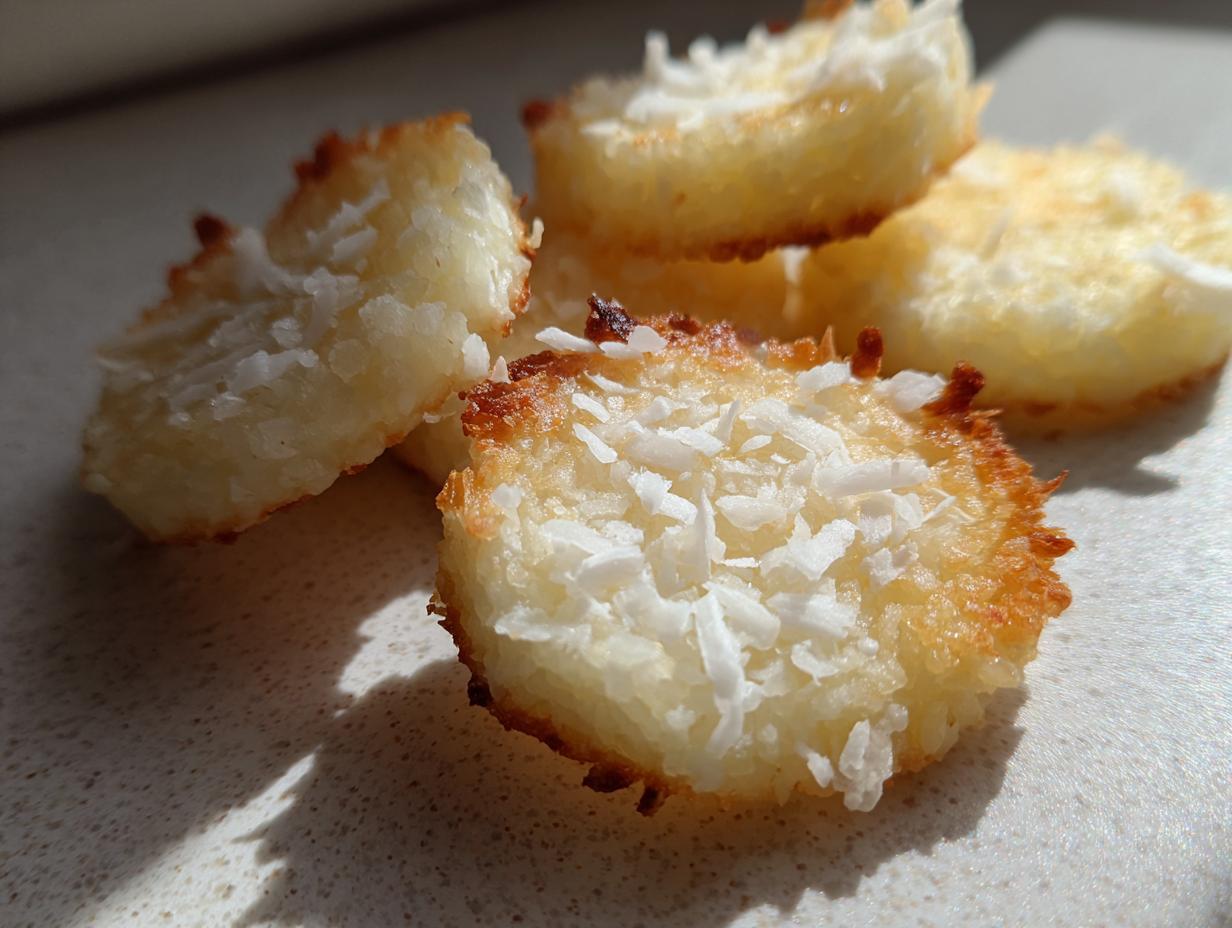
This season, if you are looking for that one cookie that screams “holiday cheer” but doesn’t require you to be a pastry chef, you need my recipe for Chocolate Blossom Cookies. I remember the first time I tried to make these; I was maybe ten, and I thought the whole thing was pure magic—a rich, dark chocolate mound topped with a perfect, melty chocolate mountain. It’s the ultimate beginner success story!
Hi, I’m Anna! 👩🍳 Cooking is my passion, and here on Mom’s Kitchen I share simple, delicious recipes that bring joy and warmth to your table. Whether you love spending time in the kitchen or you’re just looking for easy ideas for everyday meals, I’m so happy to inspire you with my recipes. Thank you for being part of this flavorful journey! 💛
These cookies are fast—seriously fast—and they always look impressive, which is why they are a staple in my house every single year. They truly prove that amazing flavor doesn’t need complicated steps or fancy techniques.
Why I Keep Making Chocolate Blossom Cookies
When I first started baking for my own family, everything felt like a high-stakes operation. If a recipe took more than three bowls, I was ready to quit. That’s why the Chocolate Blossom Cookie recipe became my absolute go-to for teaching kids how to bake. The steps are so distinct: mix, roll, bake, smash. There’s very little room for error!
My youngest, Leo, was about five when he insisted on helping with the Christmas cookie platter. He managed the rolling perfectly, and the best part was watching his face light up when he got to press the warm Hershey’s Kiss into the top. He felt like a true chocolatier! Because the base dough is so forgiving and the final decoration is so fun, it builds instant confidence for new bakers. It’s proof that you don’t need years of experience to create something that looks straight out of a bakery window.
Gathering Your Chocolate Blossom Cookies Ingredients
Ready to make magic happen? Gathering your ingredients for these Chocolate Blossom Cookies is straightforward, but a little prep goes a long way toward that perfect, crackly top and rich chocolate center. I always lay everything out on the counter before I even turn on the mixer—it saves so much time later!
We need a solid base of flour and rich cocoa powder to get that deep chocolate flavor we’re after. Don’t skimp on the butter here; it’s crucial for the texture we want! You’ll also need your Kisses ready by the time the cookies come out, so make sure they are unwrapped and waiting by the stove.

Precise Measurements for Perfect Chocolate Blossom Cookies
Listen to me on this one: room temperature butter and egg are not suggestions; they are requirements for the best texture! When you cream softened butter with sugar, you whip air into the dough, which is what gives these cookies that wonderful, slightly puffy look instead of just being flat disks. If your butter is cold, the creaming process just won’t work right.
Also, decide on your coating early! You have three fantastic options: simple granulated sugar for a classic crunch, festive sprinkles for a pop of color, or powdered sugar for a softer, almost antique look. Choose your adventure, but have it ready to go before the dough balls even leave your hands.
Essential Equipment for Baking Chocolate Blossom Cookies
Having the right tools ready is half the battle when making any cookie, especially these iconic Chocolate Blossom Cookies. Showing you have the right setup proves you know what you’re doing and that you’re taking the recipe seriously!
Mixing Bowls and Baking Preparation
You absolutely need a sturdy electric mixer—handheld or stand—for creaming the butter and sugar properly; trying to do that by hand takes forever! Make sure you have at least two mixing bowls: one medium for the dry stuff and one large for the mixer. Don’t forget parchment paper; it’s the secret weapon against sticking. And please, make sure you have a good cookie scoop ready. It keeps all your chocolate dough balls uniform so they bake evenly!
Step-by-Step Instructions for Perfect Chocolate Blossom Cookies
We’re moving fast now, so keep your oven warming up! Getting the base right is key to making sure those Hershey’s Kisses nestle in perfectly later. Follow these steps closely, and you’ll have beautiful Chocolate Blossom Cookies in no time. Remember, we’re aiming for rich flavor and that signature cracked texture.
Preparing the Dough Base
First things first, preheat that oven to 350°F and line a baking sheet with parchment paper. I always do this first so I’m ready to go! In a medium bowl, take a moment to whisk together all your dry components: the flour, the cocoa powder, the baking powder, the baking soda, and the salt. Give it a good stir so everything is perfectly distributed—we don’t want any pockets of baking soda later!
Now for the wet side. In your big mixing bowl, take your softened butter and beat it until it looks creamy and pale. This takes a few minutes with an electric mixer, trust me. Once it’s looking fluffy, slowly add your brown sugar and keep creaming until that mixture looks even lighter. Then, drop in your room temperature egg and the vanilla extract. Beat it just until everything looks happy and combined.
Slowly introduce the dry mixture into the wet mixture. Keep your mixer on low speed here! You mix just until you don’t see any more streaks of dry flour left. Stop mixing as soon as it comes together!

Forming, Coating, and Baking the Chocolate Blossom Cookies
Time to scoop! Use a 1 to 1.5 tablespoon scoop to portion out the dough. Roll each piece firmly between your palms to make a nice, tight ball. This rolling step is important for the final look of your Chocolate Blossom Cookies.
Now, pick your coating! Roll the dough ball generously in your granulated sugar, your festive sprinkles, or your powdered sugar. Place the coated balls on that prepared baking sheet, making sure you give them about an inch of space around each one. They will puff up a little bit.
Bake these beauties for 7 to 8 minutes. You’re looking for them to appear puffy, but they shouldn’t look fully set or hard. They should look soft, almost underdone—that’s what you want!
The Signature Kiss Application
While those cookies are in the oven, unwrap all 24 of your Hershey’s Kisses! You need them ready to go because timing is everything here.
The second you pull the tray out of the oven, get to work! Immediately press one Hershey’s Kiss right into the center of each warm cookie. The residual heat melts the bottom just enough so the Kiss adheres perfectly without sinking all the way through. Let them sit on that hot pan for 5 to 10 minutes to set up before you attempt to move them to a cooling rack. If you move them too soon, you’ll end up with a Kiss-less cookie!
Tips for Success with Your Chocolate Blossom Cookies
These Chocolate Blossom Cookies are so simple, but there are two little secrets that take them from good to absolutely unforgettable. If you skip these two things, you might end up with a flatter cookie or a Kiss that just slides right off. Honestly, I learned the hard way about both of these points!
The first major key is getting that perfect, soft melt to anchor the chocolate topper. You must press that Kiss in right away! The next time you bake these, try to have everything staged—the Kisses unwrapped, the cooling rack waiting—so you can move fast when the timer dings.
Temperature Matters for Creaming
I know it’s tempting to just grab the butter straight from the fridge because you’re in a hurry, but please don’t! For these Chocolate Blossom Cookies, room temperature butter is non-negotiable. When you beat softened butter with the brown sugar, you are creating thousands of tiny air pockets. These pockets are what give the dark chocolate dough its beautiful lift and that classic, slightly cracked surface.
If the butter is too cold, it won’t incorporate the sugar correctly, and you end up with a dense, heavy cookie base. Similarly, use a room temperature egg! It blends much more smoothly into the butter mixture, ensuring you get an emulsion that holds together beautifully throughout the baking process. It’s all about that initial creaming step!
Delicious Variations for Chocolate Blossom Cookies
While the classic sugar-rolled, dark chocolate base is truly divine, sometimes you want to mix things up, right? These Chocolate Blossom Cookies are so versatile because the flavor profile is so rich. You don’t need to change much to get a whole new experience!
For a subtle twist, try swapping out half the brown sugar for maple syrup—just reduce the other wet ingredients slightly to account for the liquid. Another favorite of mine is adding a tiny pinch of espresso powder to the dry mixture. It deepens the chocolate flavor without making it taste like coffee at all. It just makes the chocolate taste *more* chocolatey!
Adjusting the Rolling Coating
If granulated sugar, sprinkles, or powdered sugar just aren’t hitting the spot for your Chocolate Blossom Cookies, you have other great, simple options. Instead of rolling them in sugar, try rolling the dough balls in finely chopped nuts—pecans or walnuts work beautifully and add a great crunch!
Another fantastic, easy coating is finely crushed peppermint candy canes during the winter months. Just be sure to crush them up small in a zip-top bag so they adhere well before baking. This gives you a beautiful, festive red and white shell that contrasts perfectly with the dark cookie base.
Storing and Serving Your Chocolate Blossom Cookies
We’ve made these gorgeous Chocolate Blossom Cookies, and now we need to keep them perfect until everyone has had a chance to grab one! The main challenge here is keeping that Kiss from getting too soft or messy, and making sure the chocolate cookie base stays rich and doesn’t dry out.
The good news is that because these cookies are quite rich with butter and have that solid chocolate center, they hold up really well. But you have to treat them gently, especially right after baking!

Best Practices for Keeping Chocolate Blossom Cookies Fresh
The absolute best way to store your Chocolate Blossom Cookies is in a single layer in an airtight container. If you stack them, you risk the chocolate Kisses sticking to the cookie above it, creating a mess. If you absolutely must stack them, put a small piece of wax paper between each layer.
They are best eaten within 3 to 4 days. If you need to keep them longer, you can freeze them! Just make sure they are completely cool before freezing, and they should last about two months. Don’t try to reheat them; the chocolate Kiss will just melt away!
Here’s a quick rundown on how long you can expect them to stay delicious:
| Storage Method | Expected Shelf Life |
|---|---|
| Airtight Container (Room Temp) | 3-4 Days |
| Freezer (Airtight Container) | Up to 2 Months |
Frequently Asked Questions About Chocolate Blossom Cookies
I get so many questions about these classic cookies because everyone wants that perfect melt and crackle! These Chocolate Blossom Cookies are simple, but the details matter. Here are the things I hear most often from bakers trying this recipe for the first time.
Don’t worry if your first batch isn’t absolutely flawless; it still tastes amazing! I’ve answered a few of the most common concerns below to help you nail it on your next try.
Can I substitute the cocoa powder in these Chocolate Blossom Cookies?
You certainly can try, but I highly recommend sticking to natural, unsweetened cocoa powder for the best result in this recipe. The baking soda and baking powder are balanced specifically for the acidity of natural cocoa powder. If you decide to use Dutch-processed cocoa, you might need to adjust your leaveners slightly, which can throw off the texture of your Chocolate Blossom Cookies.
If you are out of cocoa entirely, you can try substituting it with finely chopped, melted dark chocolate mixed into the butter and sugar, but you’ll need to reduce the flour slightly to compensate for the extra fat.
What is the best way to prevent the chocolate kiss from melting completely?
This is the secret to the “blossom” look! You have to press the Hershey’s Kiss into the cookie the *second* it comes out of the oven. The cookies are puffy and soft at 7 or 8 minutes, and that residual heat is just enough to soften the bottom of the Kiss so it adheres without melting the whole thing into a puddle.
If you let the Chocolate Blossom Cookies cool on the pan for even five minutes before pressing, the cookie starts to firm up, and the Kiss won’t sink in properly. Work quickly and carefully!
Nutritional Overview of Chocolate Blossom Cookies
I always try to give you an idea of what you’re diving into when you bake a batch of these wonderful Chocolate Blossom Cookies. Since we are using rich cocoa, butter, and sugar, these are definitely a treat, but they are worth every bite! Keep in mind that these numbers are estimated, especially since we have those fun coating options that can change the final sugar count slightly. But this gives you a good snapshot of what one glorious cookie delivers.
For more general information on the health benefits of dark chocolate, you can check out resources on dark chocolate consumption.
Estimated Nutritional Information Table
| Nutrient | Amount (per cookie) |
|---|---|
| Calories | 150 |
| Total Fat | 8g |
| Carbohydrates | 18g |
| Protein | 2g |
Share Your Chocolate Blossom Cookies Creations
I truly hope you loved making these Chocolate Blossom Cookies as much as I love sharing them with you! When you try this recipe, please snap a picture and tag me online. Seeing your beautiful, chocolate-topped creations makes my whole week! If you are interested in learning more about my background, feel free to check out my About Me page.
If you made them, leave a star rating right here on the page. Your feedback helps other bakers feel confident trying this family favorite. Happy baking!
Print
Amazing Chocolate Blossom Cookies in 24 Steps
- Total Time: 23 minutes
- Yield: 24 cookies 1x
- Diet: Vegetarian
Description
Make classic Chocolate Blossom Cookies with a rich chocolate base rolled in sugar or sprinkles and topped with a Hershey’s Kiss.
Ingredients
- 150 g all-purpose flour
- 50 g natural cocoa powder
- ½ teaspoon baking powder
- ½ teaspoon baking soda
- ½ teaspoon salt
- 115 g unsalted butter, softened
- 100 g brown sugar
- 1 large egg, room temperature
- 1 teaspoon vanilla extract
- 30 g granulated sugar (for rolling)
- 30 g sprinkles (for rolling)
- 30 g powdered sugar (for rolling)
- 24 Hershey’s kisses, unwrapped (for topping)
Instructions
- Preheat your oven to 350°F. Line a baking sheet with parchment paper.
- Stir together flour, cocoa powder, baking powder, baking soda, and salt in a medium bowl. Set this dry mixture aside.
- In a large mixing bowl, beat the softened butter with an electric mixer until creamy and pale, about 3 minutes.
- Add the brown sugar and continue to cream until the mixture is fluffy.
- Add the egg and vanilla extract. Beat until everything combines well.
- Add the dry flour mixture to the wet ingredients. Mix on low speed until just combined and no dry flour patches remain.
- Use a 1-1.5 tablespoon cookie scooper to portion the dough. Roll the dough into balls between your hands.
- Roll each dough ball in granulated sugar, sprinkles, or powdered sugar.
- Place the coated dough balls on the lined baking sheet, leaving about 1 inch between each cookie.
- Bake the cookies for 7-8 minutes, or until they appear puffy.
- While the cookies bake, unwrap all the Hershey’s Kisses.
- Immediately after removing the cookies from the oven, press one Hershey’s Kiss into the center of each warm cookie.
- Let the cookies cool on the baking sheet for 5-10 minutes before moving them to a wire rack to finish cooling, or eat them warm.
Notes
- Use room temperature butter and egg for the best creaming results.
- You can choose one type of coating or mix the three rolling options.
- Press the chocolate immediately after taking the cookies out of the oven for a soft melt.
- Prep Time: 15 minutes
- Cook Time: 8 minutes
- Category: Dessert
- Method: Baking
- Cuisine: American
Nutrition
- Serving Size: 1 cookie
- Calories: 150
- Sugar: 12g
- Sodium: 50mg
- Fat: 8g
- Saturated Fat: 5g
- Unsaturated Fat: 3g
- Trans Fat: 0g
- Carbohydrates: 18g
- Fiber: 1g
- Protein: 2g
- Cholesterol: 25mg