Skip to content

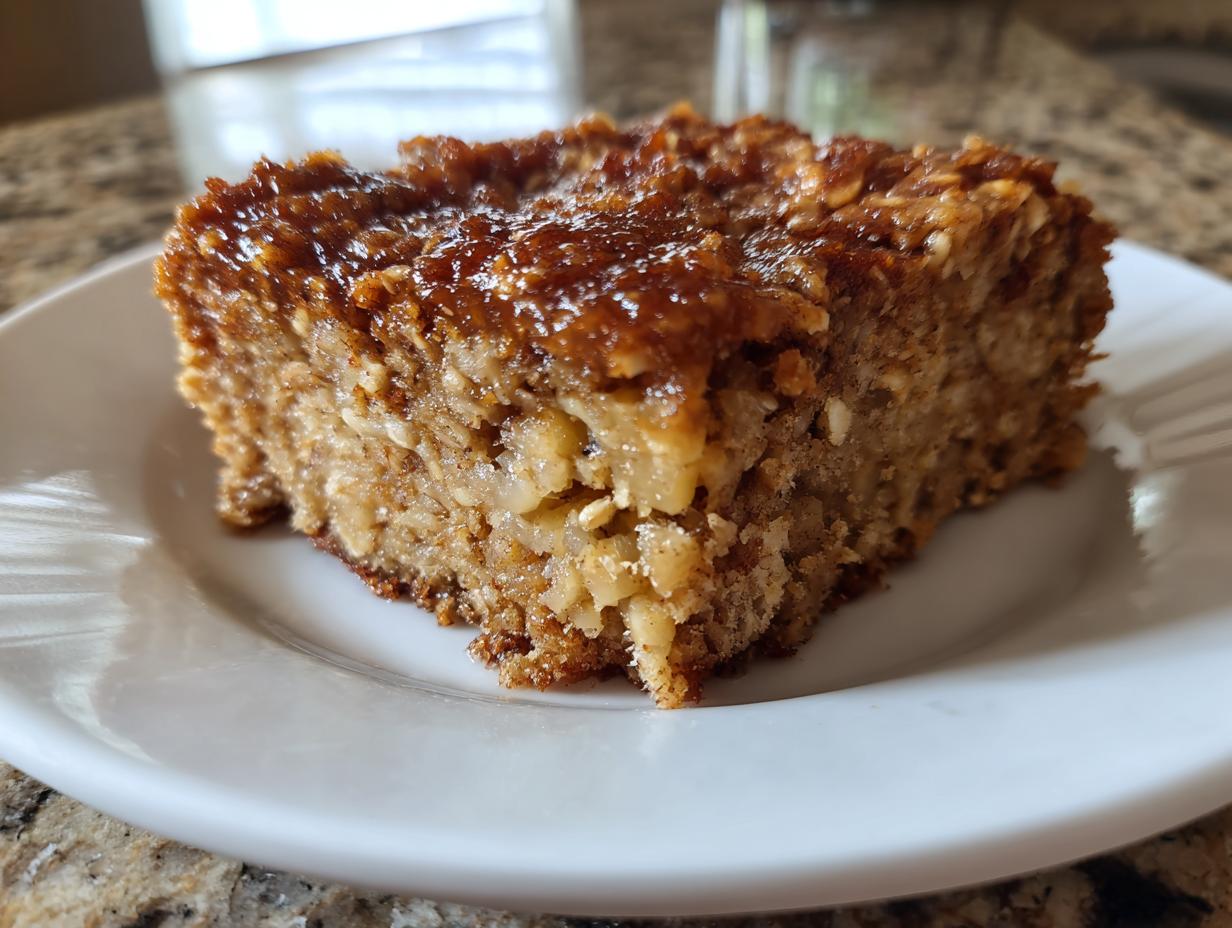
Banana Bars, nutty dessert, quick bread bars, American classic dessert. Hi, I’m Anna! 👩🍳 Cooking is my passion, and here on Mom’s Kitchen I share simple, delicious recipes that bring joy and warmth to your table. Whether you love spending time in the kitchen or you’re just looking for easy ideas for everyday meals, I’m so happy to inspire you with my recipes. Thank you for being part of this flavorful journey! 💛
When I first started baking, I was terrified of yeast and complicated layers. But I needed something sweet that used up those sad, brown bananas sitting on the counter! That’s when I landed on these banana bars. They are the ultimate beginner bake—you just mix, pour, and bake! This recipe is my go-to for an easy, comforting slice of an American classic dessert that tastes like home but takes almost no effort.

Why You Will Love These Banana Bars, Nutty Dessert
Honestly, these are the bars you reach for when you need a crowd-pleaser fast. They are sturdy, flavorful, and just hit that perfect sweet spot between cake and cookie. You’ll find yourself making them every time those bananas start turning black!
- Prep time is lightning fast—we’re talking 15 minutes max before they head into the oven.
- They absolutely require those super-ripe, almost black bananas for the best natural sweetness and moisture.
- It uses those familiar, cozy flavors we all grew up with in American kitchens.
- That tangy cream cheese topping? It takes this simple quick bread from good to absolutely unforgettable.
Gathering Your Ingredients for Banana Bars, Nutty Dessert
Okay, the best part about baking up these yummy banana bars is that you probably have most of what you need sitting right in your pantry already. Don’t stress about running to the store! We’re sticking to simple, reliable pantry staples for this quick bread base.
Essential Ingredients List for Quick Bread Bars
Here’s what you need to pull together before you even think about preheating the oven. Pay close attention to the preparation notes—they matter for texture!
| Ingredient | Quantity/Preparation |
|---|---|
| All-Purpose Flour | 1 cup |
| Rolled Oats | 1/2 cup |
| Brown Sugar | 1/2 cup |
| Salt | 1/4 teaspoon |
| Baking Soda | 1/2 teaspoon |
| Unsalted Butter | 1/2 cup, melted |
| Ripe Banana | 1/2 cup mashed |
| Walnuts (for bars) | 1/3 cup chopped |
| Egg | 1 |
| Vanilla Extract | 1 teaspoon |
| Cream Cheese (for topping) | 1/4 cup |
| Powdered Sugar (for topping) | 1/4 cup |
| Walnuts (optional, for topping) | 1/4 cup chopped |
Ingredient Notes and Substitutions for Your Nutty Dessert
Listen, if your bananas are yellow, you need to wait! The flavor in this nutty dessert comes from using bananas that are so ripe they look like they should be composted—you know, those ones with the black spots everywhere. That darkness means maximum sugar and moisture, which is exactly what we want in our quick bread bars.
For the nuts, if you absolutely have no walnuts, pecans are a fine substitute, but walnuts give that classic bite. Stick to the measurements for the leavening agents—baking soda is key here because of the acidity from the bananas, so don’t try swapping that out! Understanding the role of leavening agents is crucial for quick breads.

The Simple Steps to Baking Your Banana Bars
This is where the magic happens, and I promise you, it’s so straightforward. We aren’t whipping up a complicated layer cake here; we are making easy, delicious banana bars. The key to that perfect texture, which keeps these from being dry, is paying attention to how you mix. Trust me on this one—overmixing is the enemy of tender quick bread!
Preparing the Pan and Mixing the Quick Bread Bars Batter
First things first, get that oven heated up to 350 degrees Fahrenheit. While it’s warming, line your 9×9 inch pan with parchment paper, making sure the paper hangs over two sides. This creates little handles so you can lift the entire block of baked goodness out later, which is a lifesaver!
In one bowl, whisk together all your dry bits: the flour, oats, brown sugar, salt, and baking soda. Just give it a quick whiz until everything looks uniform. Now, in a separate bowl—or even a big measuring cup—mix your wet stuff: the melted butter, that glorious mashed banana, your single egg, and the vanilla.
Here’s the critical part for these banana bars: Pour the wet ingredients into the dry. Mix them with a spatula, gently, until you *just* see the last streaks of flour disappear. Seriously, stop mixing then! We want minimal gluten development here. Fold in those 1/3 cup of chopped walnuts quickly, pour that batter into your prepared pan, and spread it out evenly. Don’t press it down hard, just nudge it into place.
Baking and Cooling Your American Classic Dessert
Pop the pan into the preheated oven. These bake relatively quickly because they are thin, usually taking between 20 and 25 minutes. You’re looking for a clean toothpick test right in the center—if it comes out with wet batter, give it three more minutes and check again. A few moist crumbs clinging to the toothpick? Perfect! That means you have a wonderfully moist cake base.
Once they look done, pull them out, but DO NOT frost them yet! This is the hardest part of the whole recipe. If you try to spread that cream cheese topping on warm bars, you’ll end up with a sugary, melted mess instead of a beautiful frosting layer. Let the bars cool completely in the pan on a wire rack. I usually let mine chill out for at least an hour, maybe even longer, before moving on.
Crafting the Cream Cheese Topping for Your Nutty Dessert
While the bars are cooling down—and you must be patient!—we make the topping. This is what elevates these from a simple quick bread to a real treat. In a small bowl, beat your softened cream cheese until it’s silky smooth. Then, slowly add the powdered sugar a little bit at a time, mixing on low speed so you don’t create a sugar cloud in your kitchen!
Once the sugar is incorporated, beat it for another minute until it’s light and fluffy. If it seems too stiff to spread easily over the top of your cooled nutty dessert, add just a tiny splash of milk—like half a teaspoon—and mix again. Once the bars are totally cool, spread this gorgeous frosting evenly over the top. If you want that extra crunch, sprinkle the remaining 1/4 cup of walnuts right over the frosting before you cut them into squares.
Tips for Success with Banana Bars, Nutty Dessert
Even though these banana bars are incredibly forgiving, there are a couple of tiny things you can do to guarantee they turn out absolutely perfect every single time you bake them. We want flavor, yes, but we really want that tender, melt-in-your-mouth texture that makes this nutty dessert famous!
Achieving Perfect Texture in Your Quick Bread Bars
The biggest texture mistake people make when baking any quick bread, including these bars, is how they measure flour. Don’t scoop your measuring cup directly into the bag—that packs the flour in, and you end up with too much, leading to dry, tough bars. Instead, lightly spoon the flour into your measuring cup, then level off the top with a straight edge. That small step makes a huge difference!
And remember what I said earlier? Mix until *just* combined. If you see dry patches, keep mixing. The second everything looks incorporated, stop stirring. A few lumps in the batter are better than tough, chewy bars!
Frosting Tips for Your American Classic Dessert
When it comes to that beautiful cream cheese topping, the temperature of your ingredients is everything. If your cream cheese is straight out of the fridge, you’ll end up with lumps in your frosting, no matter how long you beat it. You want that cream cheese to be genuinely at room temperature—soft enough that you can easily press your finger into it without resistance. If you are interested in learning more about food safety regarding dairy, you can check out resources from the U.S. Food and Drug Administration.
If you’re in a rush, you can soften it in the microwave for about 10 seconds, but watch it closely! Also, always start beating the cream cheese by itself until it’s creamy before adding that powdered sugar. Smooth frosting makes for a much prettier presentation on your finished American classic dessert.

Frequently Asked Questions About Banana Bars
I get so many questions about these banana bars once people start baking them! They are so simple, but sometimes little things trip us up. Here are the top three things folks ask me about when they are trying to master this recipe.
Can I make these banana bars ahead of time?
Yes, absolutely! These are fantastic for making a day ahead. In fact, I think the flavor deepens overnight. If you plan to make them ahead, bake the bars and let them cool completely, but hold off on that cream cheese frosting. Store the unfrosted bars tightly wrapped at room temperature for up to two days. Then, just whip up the frosting right before you plan to serve them!
What is the best way to store these quick bread bars?
Once you’ve frosted those beautiful quick bread bars, storage gets a little more specific because of the cream cheese. Since dairy is involved, you must keep them refrigerated. Place them in an airtight container, and they should stay delicious for about four days. I like to take a serving out about 15 minutes before I eat it so the frosting softens up just a bit again.
Why are my bars dense?
Oh, density is usually a sign of two things, and both relate back to mixing! First, check how you measured your flour—did you scoop it, or spoon and level it? Too much flour makes them heavy. Second, and this is common, you might have overmixed the batter after adding the wet ingredients to the dry. Remember, just mix until that flour disappears. Stop stirring immediately! That little bit of walnut crunch is supposed to be the only real texture surprise in the base.
Storing and Reheating Your Nutty Dessert
We all know that sometimes you just can’t eat a whole 9×9 pan of deliciousness in one sitting—though I’ve certainly tried! Luckily, this nutty dessert stores beautifully, whether you leave it frosted or keep it plain. The main thing to remember is that once that cream cheese topping goes on, you need to move them to the fridge.
If you’re reheating a single square, don’t even bother with the microwave! It gets weird. Just let a slice sit on the counter for about 15 minutes to let the frosting come to a nice, spreadable temperature. Here’s a quick cheat sheet for keeping your leftovers fresh and tasty:
| Storage Method | Duration |
|---|---|
| Room Temp (Unfrosted) | Up to 2 days |
| Airtight Container (Frosted) | Up to 4 days in the fridge |
| Freezer (Unfrosted, tightly wrapped) | Up to 2 months |
Sharing Your American Classic Dessert Experience
Now it’s your turn to bring this easy, delicious slice of home baking to your table! I truly hope you enjoyed making these banana bars as much as I do. Did they turn out perfectly tender? Tell me about your success in the comments below. I love hearing how this American classic dessert inspires your own kitchen adventures! If you want to know more about me and my kitchen philosophy, check out my About Me page.
Print
Perfect banana bars: 1 amazing nutty dessert
- Total Time: 40 minutes
- Yield: 9 servings 1x
- Diet: Vegetarian
Description
Bake these Banana Walnut Bars for a simple, nutty take on a classic American quick bread dessert.
Ingredients
- 1 cup all-purpose flour
- 1/2 cup rolled oats
- 1/2 cup brown sugar
- 1/4 teaspoon salt
- 1/2 teaspoon baking soda
- 1/2 cup unsalted butter, melted
- 1/2 cup mashed ripe banana
- 1/3 cup chopped walnuts (for bars)
- 1 egg
- 1 teaspoon vanilla extract
- 1/4 cup cream cheese (for topping)
- 1/4 cup powdered sugar (for topping)
- 1/4 cup chopped walnuts (optional, for topping)
Instructions
- Preheat your oven to 350°F (175°C). Line a 9×9 inch pan with parchment paper.
- In a medium bowl, mix the flour, oats, brown sugar, salt, and baking soda.
- Add the melted butter, mashed banana, one egg, and vanilla extract to the dry ingredients. Mix until just combined.
- Stir in the 1/3 cup of chopped walnuts.
- Spread the batter evenly into the prepared pan.
- Bake for 20 to 25 minutes, or until a toothpick inserted into the center comes out clean. Let the bars cool completely in the pan.
- To make the topping, beat the cream cheese and powdered sugar together until smooth.
- Spread the cream cheese frosting over the cooled bars.
- Sprinkle the remaining 1/4 cup of chopped walnuts over the frosting, if desired.
- Cut into squares and serve.
Notes
- Use very ripe bananas for the best flavor and texture in the bars.
- Ensure the bars are completely cool before applying the frosting.
- Prep Time: 15 minutes
- Cook Time: 25 minutes
- Category: Dessert
- Method: Baking
- Cuisine: American
Nutrition
- Serving Size: 1 bar
- Calories: 250
- Sugar: 18g
- Sodium: 100mg
- Fat: 14g
- Saturated Fat: 7g
- Unsaturated Fat: 7g
- Trans Fat: 0g
- Carbohydrates: 30g
- Fiber: 2g
- Protein: 4g
- Cholesterol: 40mg