Skip to content

Hi, I’m Anna! 👩🍳 Cooking is my passion, and here on Mom’s Kitchen I share simple, delicious recipes that bring joy and warmth to your table. Whether you love spending time in the kitchen or you’re just looking for easy ideas for everyday meals, I’m so happy to inspire you with my recipes. Thank you for being part of this flavorful journey! 💛
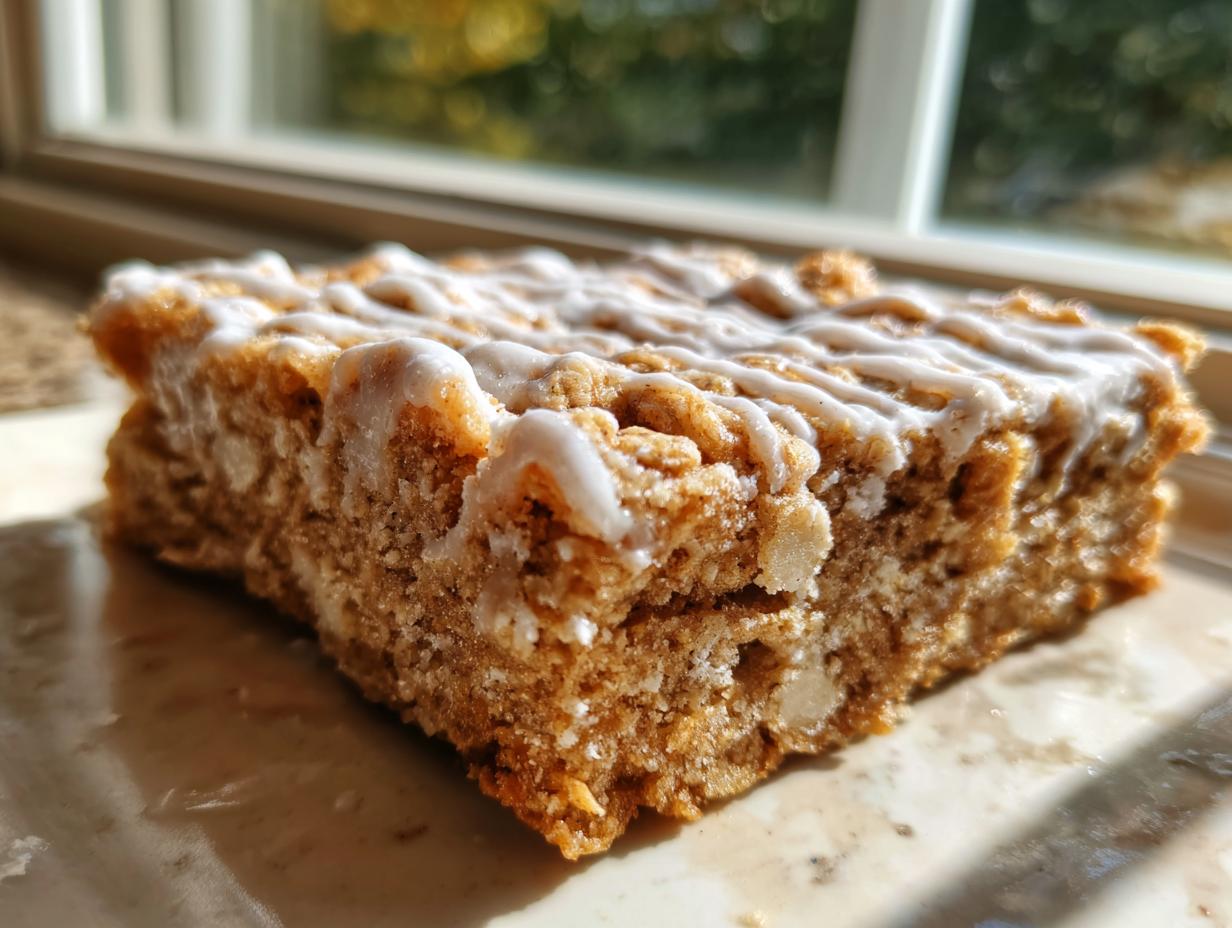
When I first started experimenting with tahini, I wasn’t sure if it belonged in a dessert, but let me tell you, these Chocolate Tahini Bars changed everything! If you’re looking for that perfect rich, satisfying treat that requires zero time near a hot oven, you’ve hit the jackpot. These bars deliver incredible depth of flavor through three distinct layers. My goal on this blog is always to share recipes I trust completely, and because these are no-bake, they are perfect for busy afternoons when you *need* a little something sweet right now. Trust me, the texture combination here is unmatched.

Why You Will Love These Chocolate Tahini Bars
You know I only share the best, and these bars are designed to be your new favorite go-to treat. They are just so satisfying, and you don’t have to worry about turning on the oven, which is a huge win in the summer! Seriously, if you need something quick, these Chocolate Tahini Bars fit the bill perfectly.
- No Oven Required: These are completely no-bake! You just mix, layer, and chill.
- Incredible Texture: That contrast between the dense oat base, the silky tahini cream, and the snappy chocolate top is just divine.
- Simple Ingredients: We use things you likely already have, like oat flour and maple syrup, making the prep time super fast.
- Diet Friendly: This recipe naturally fits into a vegan lifestyle, which means everyone at the party can enjoy them!
- Rich Flavor Profile: The nutty, slightly savory tahini balances the deep sweetness of the chocolate beautifully.
Gathering Your Ingredients for Chocolate Tahini Bars
Okay, before we get into the freezing magic, let’s talk about what you need. Since these Chocolate Tahini Bars are no-bake, the quality of your few components really shines through. Don’t stress too much, though; this isn’t complicated at all! We’re dividing the ingredients into our three distinct layers: the base, the creamy center, and that gorgeous chocolate shell.
Make sure you have everything measured out before you start mixing, because once you start pressing the base down, things move fast!
Base and Cream Layer Components
For the bottom layers, you’ll need oat flour—I usually just blend rolled oats until they look fine. Then you’ll need the tahini, but pay close attention here: we use some for the base and then a separate amount for the luscious middle cream. Same thing with the maple syrup, we split that sweetness between the bottom two layers to keep everything balanced. It’s all about those proportions!
Chocolate Topping Requirements
The topping is super simple, which I love. You need dairy-free chocolate chips—use the best quality you can find because this is the final flavor note! You also need coconut oil. That little bit of oil is crucial; it helps the chocolate melt down silkier and sets up beautifully firm in the freezer. Make sure you have exactly two tablespoons of that oil ready to go when the time comes.
Step-by-Step Guide to Perfect Chocolate Tahini Bars
This is where the magic happens, and I promise you, it’s easier than making toast! Since these are no-bake, our timeline is dictated by our freezer, not the oven clock. First things first: get an 8×8 pan ready. I always line mine with parchment paper, letting the edges hang over like little handles. This is the secret hack for lifting the whole block out cleanly later! Don’t skip the parchment, trust me on this one.
Building the Dense Oat Base
Grab your oat flour, the first portion of tahini (that’s the one-third cup measure), and the quarter cup of maple syrup. Mix these together until they look like wet sand. You want it combined, but not overworked. Now, press this mixture into the bottom of your prepared 8×8 pan. You need to press this base down *firmly*—use the bottom of a flat glass or measuring cup to really compact it. A dense base is essential for holding up those creamy layers later on when you make your Chocolate Tahini Bars!
Creating and Setting the Creamy Tahini Layer
Next up is the silky middle layer! In a separate bowl, whisk together the remaining one-third cup of tahini and the two tablespoons of maple syrup. It gets thick fast, but just keep stirring until it’s smooth. Gently spoon this creamy mixture over your pressed oat base. Use a spatula to smooth it out so it’s perfectly even across the top. Now, this is a crucial waiting period: pop the pan into the freezer for a solid 45 minutes. We need that base and cream layer totally firm before we add the chocolate top, or everything will just mix together into a messy puddle!
Finishing with the Smooth Chocolate Topping
While that’s chilling, melt your dairy-free chocolate chips with the two tablespoons of coconut oil. I usually do this in short bursts in the microwave, stirring really well between each 20-second blast until it’s glossy and smooth. Pour this melted chocolate right over your chilled base and cream layers. Work quickly so the chocolate doesn’t start setting up on you! Spread it evenly and place the whole pan back into the freezer for just another 15 minutes. You only need enough time for the chocolate to set up so it snaps when you cut it. Once it’s firm, use those parchment handles to lift the entire slab out and slice it into your perfect Chocolate Tahini Bars!

Tips for Success with Your Chocolate Tahini Bars
You are so close to enjoying these amazing treats! Achieving that perfect texture in your Chocolate Tahini Bars really comes down to a couple of small things. First, make sure that tahini cream layer is really smooth before you freeze it the first time. Any lumps there will stay put after freezing, and we want that silky middle!
My biggest tip for clean slicing is temperature control. If you try to cut the bars when they are rock hard straight from the deep freeze, the chocolate top will crack everywhere. Let the whole slab sit out on the counter for about 10 minutes before you slice it. This lets the chocolate soften just enough to get a clean break. Remember, these love being chilled, so wrap up any leftovers tightly and keep them in the fridge or freezer!
Ingredient Notes and Substitutions for Chocolate Tahini Bars
Let’s chat briefly about the ingredients, because that’s where the flavor magic for these Chocolate Tahini Bars really lives. First, your tahini! You absolutely must use a good quality, smooth, runny tahini here. If yours is super thick and dry right out of the jar, it might make your base crumbly, so stir it really well first. I haven’t tested alternatives for the tahini itself because it’s the star, but you can certainly swap out the sweetener.
Maple syrup is necessary for binding the base and cream, but if you needed to keep the glycemic index lower, you could try a liquid monk fruit blend, but you might need less of it since it’s concentrated. Also, please don’t try to use granulated sugar in the base; it won’t bind correctly since this is a no-bake recipe. Keep it liquid for that perfect, chewy texture! For more information on the benefits of using natural sweeteners like maple syrup, you can check out resources on nutritional comparisons.
Frequently Asked Questions About Tahini Dessert Bars
I get so many questions about these bars because people are nervous about the freezing times or the tahini itself. Don’t worry! I’ve gathered the most common things folks ask about these layered Chocolate Tahini Bars right here. If you have another question, drop it in the comments below! You can also read more about my approach to recipe testing on my About Me page.
Storing Your No-Bake Chocolate Tahini Bars
Remember that note about keeping them chilled? That’s essential for the best texture! These are definitely best stored in an airtight container in the refrigerator. They stay wonderfully firm for about a week that way. If you want them to last longer, you can absolutely freeze them! Wrap individual bars tightly in plastic wrap before placing them in a freezer bag. They freeze beautifully for up to two months, but again, let them sit on the counter for about 10 minutes before serving so the chocolate softens just a touch.
Can I substitute the oat flour in these Chocolate Tahini Bars
That’s a great question for anyone dealing with allergies! While oat flour is what gives the base that perfect dense chew, you could try grinding up almond flour or even gluten-free all-purpose flour instead. Just know that the texture will change slightly; almond flour will make it a bit softer, and regular flour might be slightly less cohesive. Stick close to the oat flour if you can for the intended texture of these no-bake dessert bars.
Adjusting Sweetness in the Filling
Since the maple syrup is used in both the base and the cream layer, you have some control over the overall sweetness. If you find your tahini is already quite sweet, you can reduce the maple syrup in the middle cream layer by about half a teaspoon. However, be careful cutting back too much in the base, as the syrup is what helps hold the oat flour together when it chills! For general food safety guidelines regarding homemade treats, it’s always wise to consult official sources like the FDA website.
Storage and Reheating Instructions for Chocolate Tahini Bars
Since these are a chilled treat, we don’t really reheat them, but storage is key to keeping those layers perfect! You want to keep these Chocolate Tahini Bars cool so they don’t get soft and messy. They are best kept in the fridge, but they freeze like a dream if you need to make a bigger batch for later. Honestly, they are ready to eat straight from the cold!
Here’s a quick guide for keeping them fresh:
| Storage Location | Approximate Time |
|---|---|
| Refrigerator (Airtight) | Up to 1 Week |
| Freezer (Wrapped) | Up to 2 Months |
Sharing Your Homemade Chocolate Tahini Bars
I truly hope you loved making these layers as much as I love eating them! Seriously, once you try these Chocolate Tahini Bars, you might never go back to baked cookies again. If you made a batch, please come back and leave me a rating below so other folks know how delicious they are! And don’t forget to snap a picture and share it with me—I just adore seeing your creations! If you need to get in touch regarding recipe issues, please use the Contact form.
Print
Divine 3-Layer Chocolate Tahini Bars Magic
- Total Time: 60 minutes
- Yield: 12 bars 1x
- Diet: Vegan
Description
These Chocolate Tahini Bars offer a rich, satisfying treat with three distinct layers: a dense oat base, a creamy tahini filling, and a smooth chocolate topping. They are simple to make and require no baking.
Ingredients
- 1½ cups oat flour
- ⅓ cup tahini (for base)
- ¼ cup maple syrup (for base)
- ⅓ cup tahini (for cream)
- 2 tbsp maple syrup (for cream)
- 1½ cups dairy free chocolate chips
- 2 tbsp coconut oil
Instructions
- Line an 8×8 pan with parchment paper.
- Mix the base ingredients: oat flour, ⅓ cup tahini, and ⅜ cup maple syrup. Press this mixture firmly into the bottom of the prepared pan.
- Prepare the cream layer by mixing ⅓ cup tahini and 2 tbsp maple syrup. Spread this layer evenly over the base.
- Freeze the base and cream layers for 45 minutes.
- Melt the dairy free chocolate chips with 2 tbsp coconut oil until smooth.
- Pour the melted chocolate mixture over the frozen layers.
- Freeze for an additional 15 minutes until the chocolate sets.
- Remove the bars from the pan and slice into desired bar sizes.
Notes
- Keep chilled for best texture.
- Prep Time: 15 minutes
- Cook Time: 0 minutes
- Category: Dessert
- Method: No-Bake
- Cuisine: American
Nutrition
- Serving Size: 1 bar
- Calories: 250
- Sugar: 15g
- Sodium: 50mg
- Fat: 18g
- Saturated Fat: 7g
- Unsaturated Fat: 11g
- Trans Fat: 0g
- Carbohydrates: 22g
- Fiber: 3g
- Protein: 5g
- Cholesterol: 0mg