Skip to content

Hi, I’m Anna! 👩🍳 Cooking is my passion, and here on Mom’s Kitchen I share simple, delicious recipes that bring joy and warmth to your table. Whether you love spending time in the kitchen or you’re just looking for easy ideas for everyday meals, I’m so happy to inspire you with my recipes. Thank you for being part of this flavorful journey! 💛
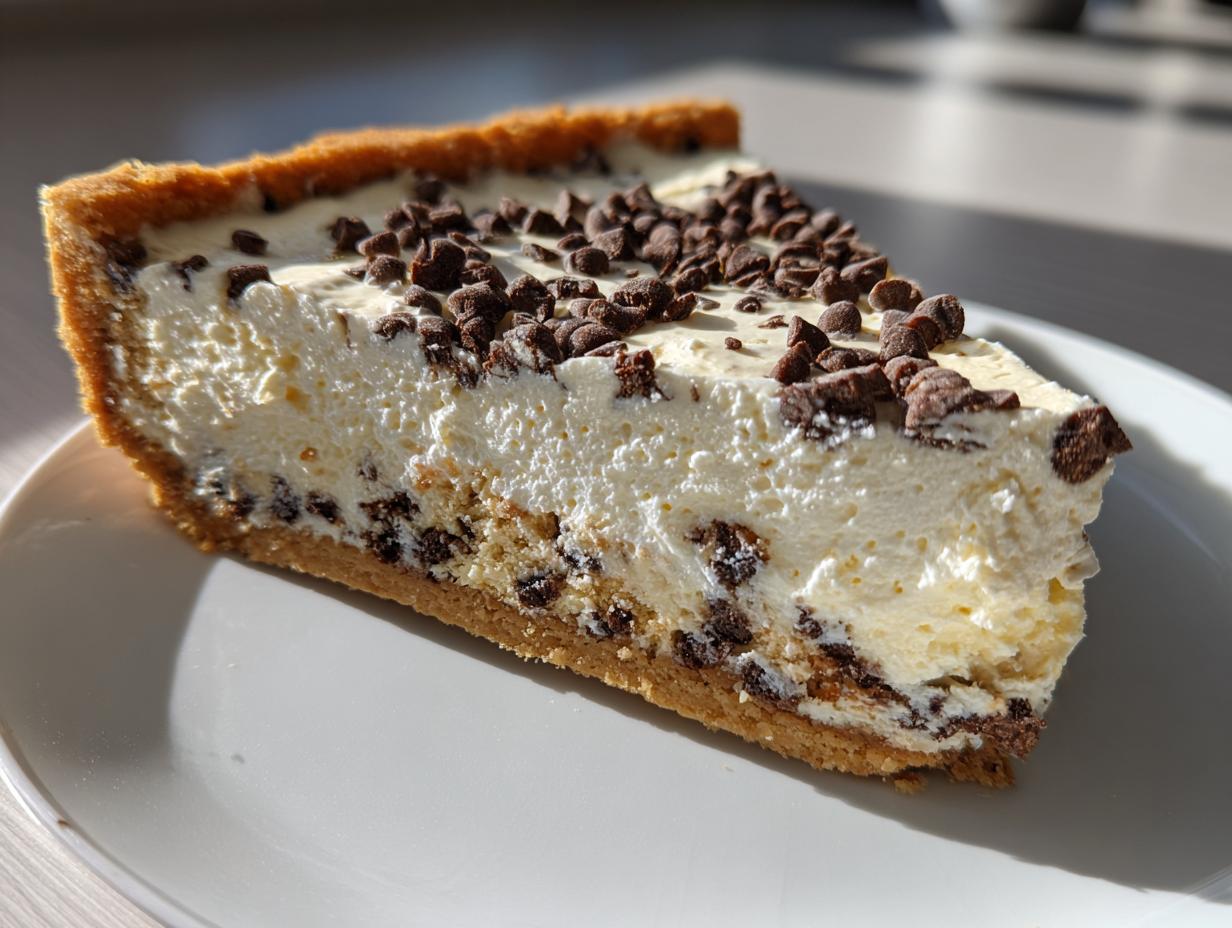
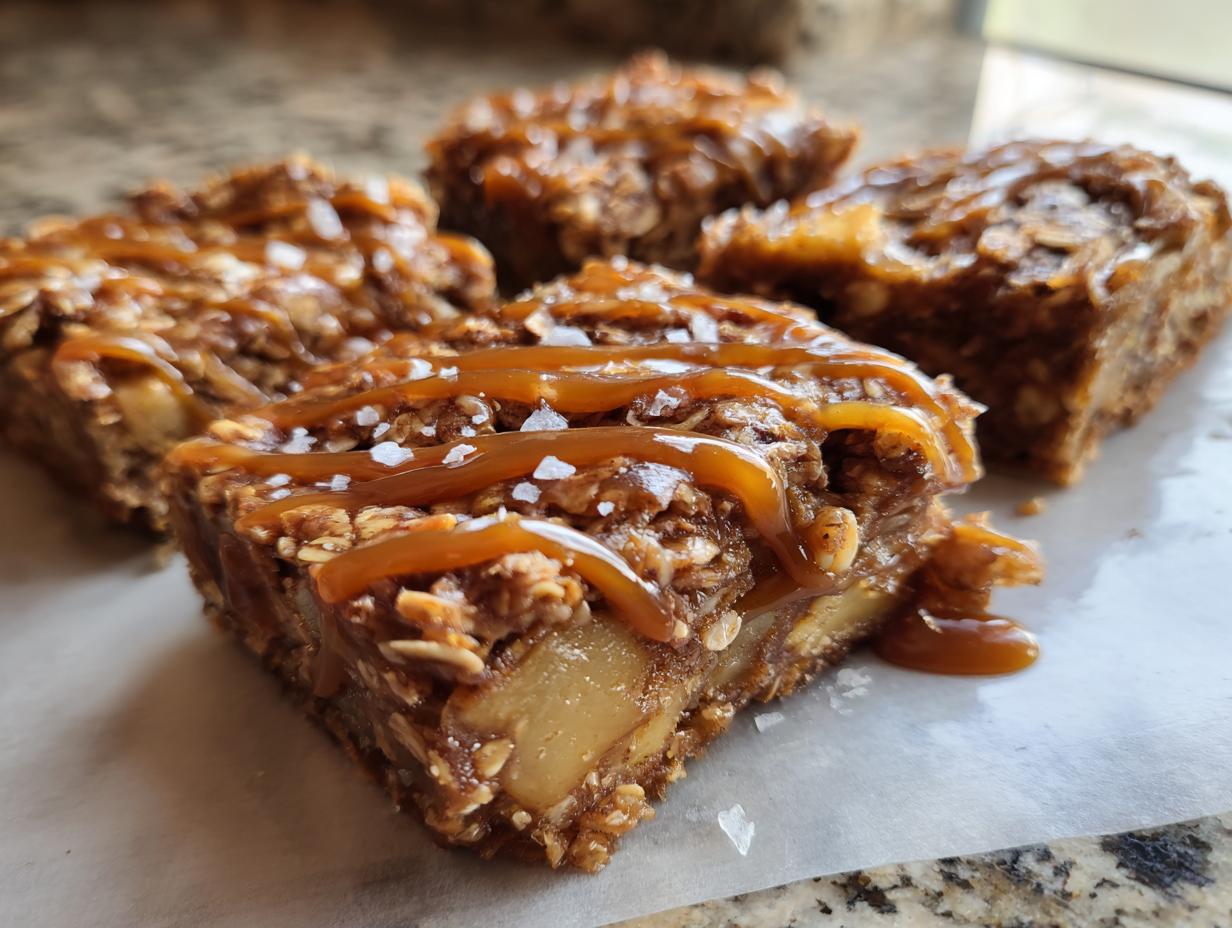
When the weather turns crisp and the holiday lights start going up, I always think about baking something bright and tart. That’s when I pull out the dried cranberries because nothing screams cozy celebration like these incredible Cranberry Bliss Bars. Forget those complicated layer cakes; these bars are rich, chewy, and topped with the dreamiest cream cheese frosting you can imagine.
I remember one December when the snow was coming down sideways, and I had a huge pile of groceries but no real plan. I just started throwing things together—some oats for chew, those tart red berries, and a splash of lemon in the frosting because, well, everything tastes better with lemon! That impromptu bake session resulted in the very first batch of these bars. They are truly foolproof, even if you’re new to baking. These Cranberry Bliss Bars bake up perfectly golden in under 30 minutes, making them my go-to for last-minute holiday cheer!

Gathering What You Need for Perfect Cranberry Bliss Bars
Before we dive into the oven, let’s make sure we have everything ready. When I’m making these festive Cranberry Bliss Bars, I always take a moment to measure correctly, especially the flour. You know how I feel about packing flour in—we want a light, chewy bar, not a dense brick!
Getting the ingredients right is half the battle, and using quality components guarantees that bright, delicious flavor we’re aiming for. Trust me, the oat base is what gives these bars their satisfying texture, so pay attention to those small details below.
Core Ingredients for the Oat Base
- 1 cup all-purpose flour (Remember to fluff it up and spoon it into your measuring cup!)
- 1 cup rolled oats (Use the old-fashioned kind for the best chew!)
- 1/2 cup brown sugar (Packed tightly)
- 1/2 teaspoon baking soda and 1/4 teaspoon salt
- 1/2 cup unsalted butter, melted
- 1 egg, brought to room temperature—this helps it mix evenly!
- 1 teaspoon vanilla extract
- 1/2 cup dried cranberries and 1/3 cup white chocolate chips (The first batch of chips goes right into the batter!)
Components for the Cream Cheese Topping and Drizzle
- 4 oz cream cheese, softened completely (This is crucial for a smooth topping!)
- 1/2 cup powdered sugar
- 1 tablespoon lemon juice (This cuts the sweetness perfectly)
- 1/4 cup white chocolate chips, melted separately for drizzling
Essential Equipment for Making Cranberry Bliss Bars
You don’t need a professional setup for these amazing Cranberry Bliss Bars! Keep things simple. You’ll need a sturdy 9×9 inch baking dish—I recommend lining it with parchment paper for easy lifting later. Grab a couple of decent mixing bowls, one large one for the base batter. A hand mixer or even a strong whisk will get the cream cheese topping perfectly smooth!
Step-by-Step Instructions for Amazing Cranberry Bliss Bars
Alright, let’s get baking! This part is so satisfying because you can actually see your holiday treat coming together. Always remember to preheat your oven *before* you start mixing wet and dry ingredients. That way, everything is ready to go the second the batter is mixed, which is important for keeping those oats happy.
Preparing the Base and Initial Bake
- First things first, let’s get that oven hot! Preheat your oven to 350°F (175°C). While it warms up, get your 9×9 inch baking dish ready. I always grease mine lightly and then lay down a piece of parchment paper, leaving some overhang on the sides—this creates little handles to lift the whole thing out later.
- In a nice big bowl, we combine the dry stuff. Whisk together that fluffed flour, the rolled oats, brown sugar, baking soda, and salt. You want this evenly distributed so you don’t end up with a salty bite somewhere!
- Now for the wet ingredients to bring it all together. Pour in your melted butter, the room temperature egg, and the vanilla extract. Start stirring gently. It will look shaggy at first, but keep mixing until everything is just combined. Don’t overmix here; we are just trying to incorporate everything.
- Next, gently fold in those dried cranberries and the first portion of white chocolate chips. Folding them in by hand keeps the batter from getting tough. Distribute them evenly throughout the mix.
- Pour all that lovely batter into your prepared dish. Use a spatula to press it down firmly and make sure it’s spread out evenly across the bottom. A flat surface means your Cranberry Bliss Bars will bake evenly!
- Time for the oven! Bake this for about 25 to 30 minutes. You’re looking for the edges to turn a lovely golden brown. The best test is the toothpick test: insert one into the center, and if it comes out clean, you’re good to go. If it has wet batter, give it five more minutes.
Creating the Signature Cream Cheese Topping
While those bars are baking away, we get to the best part—the frosting! This topping is tangy and sweet and absolutely necessary for the full experience. Make sure your cream cheese is truly soft, or you’ll end up with lumps, and nobody wants a lumpy bliss bar!
- In a separate bowl, beat the softened cream cheese until it’s completely smooth and creamy.
- Add in the powdered sugar and mix slowly until it’s incorporated, then turn up the speed a bit until it’s fluffy. Finally, mix in the lemon juice. Taste it! It should be bright. Set this aside for now, but resist the urge to put it on the warm bars!

Finishing Your Cranberry Bliss Bars with a Drizzle
Patience is key in the final stage, I promise it’s worth the wait! If you try to frost warm bars, you’ll just get a melted, soupy mess, and that’s not bliss!
- Once the baked base is totally cooled—and I mean completely cool, maybe even put it in the fridge for 15 minutes if you’re impatient like me—spread that gorgeous cream cheese topping evenly over the entire surface.
- Melt your reserved 1/4 cup of white chocolate chips. You can do this in short bursts in the microwave or over a double boiler. For more information on safe microwave use, check out FDA guidelines on microwave safety.
- Drizzle that melted white chocolate back and forth across the top. Once you’ve drizzled to your heart’s content, let the bars sit until that chocolate sets up firm. Then, use those parchment paper handles to lift the whole slab out, slice them into 16 squares, and enjoy your perfect Cranberry Bliss Bars!
Tips for Success When Making Cranberry Bliss Bars
I’ve learned a few little tricks over the years that guarantee your Cranberry Bliss Bars turn out perfectly every time. The biggest thing is temperature management. Make sure that egg is room temperature before mixing it into the base; a cold egg can seize up the melted butter and make your dough heavy. If you are interested in learning more about food safety and temperature guidelines, you can review resources from the Centers for Disease Control and Prevention.
When you mix the base batter, stop stirring as soon as the flour disappears. Overmixing develops gluten, and we want chewy, not tough! Also, don’t skimp on the cooling time before frosting. If you rush that step, your beautiful cream cheese topping will slide right off like an avalanche.
Finally, for a professional look on your drizzle, use a fork or a piping bag with a very small tip. A little extra effort makes these festive treats look like they came straight from the bakery case! If you want to know more about my baking philosophy, check out my About Me page.
Storing and Serving Your Cranberry Bliss Bars
These bars are just as good the next day, which is why they’re so fantastic for parties—you can make them ahead! Since they have that lovely dairy topping, you absolutely must keep your finished Cranberry Bliss Bars in the fridge. Don’t worry about reheating them; these are best served cool, straight from the refrigerator. They stay perfectly fresh for almost a week!
Storage and Reheating Guidelines
Here’s a quick guide to keeping your bars tasting fresh:
| Storage Method | Duration | Notes |
|---|---|---|
| Airtight Container (Fridge) | Up to one week | Best for daily snacking. |
| Airtight Container (Freezer) | 2 to 3 months | Wrap tightly before freezing. |
Frequently Asked Questions About Cranberry Bliss Bars
I always get questions when I post pictures of these bars because they look so fancy, but honestly, they’re so easy! Here are a few things I hear most often about making the best Cranberry Bliss Bars.
Q1. Can I substitute the dried cranberries for fresh ones?
Oh, I wouldn’t recommend it for this recipe. Dried cranberries are essential because they absorb some moisture during baking, giving you that chewy texture and concentrated tartness. Fresh cranberries tend to burst and make the base too wet, changing the structure we get from the rolled oats.
Q2. Why is my cream cheese topping too runny?
That usually means two things: either your cream cheese wasn’t soft enough when you started beating it, or you added too much lemon juice. Remember, the cream cheese and powdered sugar need to be fully incorporated before adding any liquid. If it’s still a little soft, just pop the whole batch of Cranberry Bliss Bars into the fridge for about 30 minutes to let the topping firm up before you drizzle the chocolate!
Q3. What can I use instead of white chocolate chips?
If white chocolate isn’t your favorite, you have options! You can use dark chocolate chips for a richer contrast to the tart cranberries, or even milk chocolate. Just make sure you melt whatever you choose slowly so it stays smooth enough for that final drizzle over the top.
Q4. Do I need to use lemon juice in the topping?
You really should! While you could skip it, that little bit of lemon juice is the secret weapon that prevents the cream cheese topping from tasting overwhelmingly sweet. It balances the sugar and complements the dried cranberries beautifully in these Cranberry Bliss Bars.
Sharing Your Cranberry Bliss Bars Experience
I’ve shared all my secrets, but now I want to hear from you! Did you make these Cranberry Bliss Bars for your next gathering? Tell me how they turned out in the comments below. I love seeing your kitchen creations, so snap a picture and tag us on social media!
Don’t forget to rate this recipe if you enjoyed that perfect mix of oat chewiness and tangy frosting. Happy baking, everyone!
Print
Amazing 16 Cranberry Bliss Bars
- Total Time: 45 minutes
- Yield: 16 bars 1x
- Diet: Vegetarian
Description
Make rich and festive Cranberry Bliss Bars with a sweet cream cheese topping and white chocolate drizzle. This recipe uses oats for texture and dried cranberries for tartness.
Ingredients
- 1 cup all-purpose flour (Fluffed and spooned for measurement)
- 1 cup rolled oats
- 1/2 cup brown sugar
- 1/2 teaspoon baking soda
- 1/4 teaspoon salt
- 1/2 cup unsalted butter (melted)
- 1/2 cup dried cranberries
- 1/3 cup white chocolate chips
- 1 egg (Room temperature)
- 1 teaspoon vanilla extract
- 4 oz cream cheese (softened)
- 1/2 cup powdered sugar
- 1 tablespoon lemon juice
- 1/4 cup white chocolate chips (melted for drizzling)
Instructions
- Preheat your oven to 350°F (175°C). Prepare a 9×9 inch baking dish by greasing or lining with parchment paper.
- In a large bowl, combine the flour, rolled oats, brown sugar, baking soda, and salt. Mix well.
- Pour in the melted butter, egg, and vanilla extract. Stir until combined.
- Gently fold in the dried cranberries and white chocolate chips evenly.
- Pour the batter into the prepared baking dish and spread evenly.
- Bake for 25-30 minutes, or until edges are golden brown and a toothpick inserted comes out clean.
- While baking, prepare the topping: Beat the softened cream cheese and powdered sugar until smooth. Add the lemon juice and mix.
- Allow the baked bars to cool completely.
- Spread the cream cheese topping evenly over the cooled bars.
- Melt the extra white chocolate chips and drizzle over the topping.
- Once the chocolate sets, slice the bars into squares and serve.
Notes
- Experiment with chopped nuts or a sprinkle of cinnamon for extra flavor.
- Store in an airtight container in the refrigerator for up to one week.
- You can freeze the bars for 2-3 months.
- Prep Time: 15 minutes
- Cook Time: 30 minutes
- Category: Dessert
- Method: Baking
- Cuisine: American
Nutrition
- Serving Size: 1 bar
- Calories: 250
- Sugar: 25g
- Sodium: 80mg
- Fat: 14g
- Saturated Fat: 8g
- Unsaturated Fat: 6g
- Trans Fat: 0g
- Carbohydrates: 30g
- Fiber: 1g
- Protein: 3g
- Cholesterol: 30mg