Skip to content

No heading needs to be written for the introduction.
Hi, I’m Anna! 👩🍳 Cooking is my passion, and here on Mom’s Kitchen I share simple, delicious recipes that bring joy and warmth to your table. Whether you love spending time in the kitchen or you’re just looking for easy ideas for everyday meals, I’m so happy to inspire you with my recipes. Thank you for being part of this flavorful journey! 💛
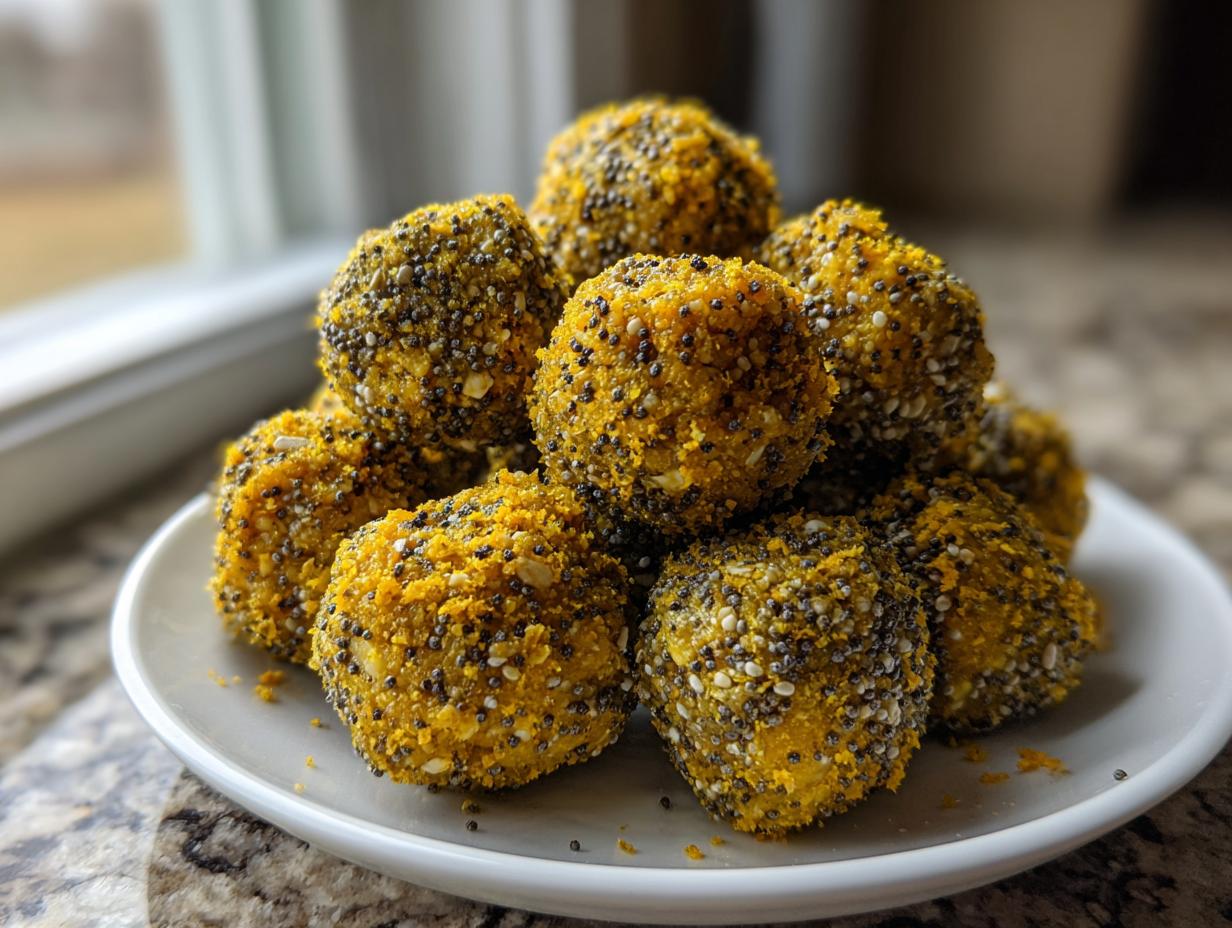
If you’ve ever looked at a gorgeous dessert in a bakery window and thought, “There’s no way I can make that,” then these **Pistachio Cream Bars** are about to change your mind forever. Seriously, these are the easiest, creamiest treats I’ve ever developed, and they require zero oven time! I’ve spent years figuring out what makes a recipe truly beginner-friendly, and this one is foolproof.
We’re talking about a crunchy oat base that presses right into the pan, topped with a lush, bright green pistachio cream that sets up beautifully in the freezer. It’s rich, it’s nutty, and it tastes gourmet, but it comes together in less than twenty minutes of actual work. If you need a satisfying, no-fuss dessert for a potluck or just a Tuesday night craving, stop looking. These **Pistachio Cream Bars** are IT.

Why You Will Love These Pistachio Cream Bars
I know what it’s like when you want something sweet but the thought of turning on the oven feels like too much work. That’s why I keep coming back to this recipe. These **Pistachio Cream Bars** are the answer to every busy cook’s prayer. They are just so satisfying!
- The prep time is lightning fast—we’re talking 15 minutes max before they head to the freezer.
- No oven means no heating up the house, especially great in the summer.
- That creamy, nutty filling is absolutely luxurious; you won’t believe how easy it is.
- Most of the ingredients are things you probably already have in your pantry right now!
Simple Ingredients for Perfect Pistachio Cream Bars
When you make something no-bake, the quality of your few ingredients really shines through. Don’t skimp here! For these **Pistachio Cream Bars**, we rely on good oat flour for that perfect, slightly chewy base. You’ll also need pistachios—blended for the cream and roughly chopped for the topping. That contrast in texture is what makes these bars truly sing. Trust me, keeping these simple ingredients on hand means you can whip up a batch anytime!
Gather Your Supplies for Pistachio Cream Bars
Since this is a no-bake recipe, you won’t need any fancy mixing bowls or whisks, which is part of the magic! You absolutely must have an 8×8 inch pan ready to go—line it first, please! Also, make sure you have a good blender or food processor to get those base pistachios nice and fine for the creamy layer. Getting your equipment ready first makes assembling these **Pistachio Cream Bars** so smooth!
Step-by-Step Guide to Making Pistachio Cream Bars
This is where the fun really starts! Don’t let the two layers scare you; it’s just two simple mixing steps followed by assembly. I always tell people that making **Pistachio Cream Bars** is like building a delicious, edible layer cake, but without turning on the stove once. Grab your 8×8 pan right now and line it with parchment paper, letting the paper hang over two sides like little handles—this is my secret for easy lifting later!
Preparing the Crunchy Oat Base
First up is the base, which provides that fantastic, slightly salty, chewy contrast to the smooth top. In a medium bowl, you’ll combine your oat flour, the melted coconut oil, and just a tiny drizzle of maple syrup. Now, this mixture won’t look like dough right away; it’ll be crumbly, almost like wet sand. Use a sturdy spoon or your clean hands to mix it until everything is just incorporated. You want it damp enough to hold a shape when you squeeze it.
Transfer all those crumbs into your lined 8×8 pan. Now, press, press, press! This is important for the **Pistachio Cream Bars** not to crumble when you slice them later. I use the bottom of a flat measuring cup to really compact the mixture firmly and evenly across the bottom of the pan. Make sure the edges are nice and tight, too. Set this base aside while we whip up the star of the show.
Creating the Rich Pistachio Cream Filling
Okay, time for the filling! This needs your blender or food processor. You are going to combine the blended pistachios—make sure they are ground almost to a powder—with that thick coconut cream and the remaining maple syrup. If you’re using canned coconut cream, be sure to scoop out just the thick, solidified top layer; we don’t want the watery part!
Blend this mixture until it is unbelievably smooth and creamy. You might have to stop and scrape down the sides a couple of times. You are looking for a texture like thick pudding or maybe a very soft cheesecake batter. If it seems too stiff to spread, add just a tiny splash more of the watery part of the coconut milk, but go slow because we want it rich. This smooth consistency is what guarantees gorgeous **Pistachio Cream Bars**.
Assembling and Freezing Your Pistachio Cream Bars
Now we bring the layers together! Gently pour that beautiful pistachio cream right over your pressed oat base. Use an offset spatula or the back of a spoon to spread it out evenly to the edges. You want a nice, thick layer of green goodness sitting right on top of that crunchy base.
For the finishing touch, take your roughly chopped pistachios and sprinkle them generously all over the top. Press them lightly into the cream so they stick when frozen. Now, the hardest part: patience! Place the whole pan carefully into the freezer. You need to let these set for a minimum of two hours. They have to be rock solid before slicing. When they are firm, use those parchment paper handles to lift the whole slab out onto a cutting board. Use a sharp knife to cut them into even bars—about 12 pieces works perfectly for this size pan. Enjoy immediately or transfer them to an airtight container in the fridge!

Ingredient Details and Smart Substitutions
Since this is a no-bake dessert, the ingredients we use are doing double-duty—they provide structure, flavor, and texture all at once. Let’s talk about the two main players here: the coconut products and the nuts.
The coconut oil in the base is essential because it’s solid when cold. This is what holds your oat crust together firmly once it chills. If you absolutely cannot use coconut oil, you could try swapping it 1:1 with a solid vegan butter stick, but make sure it’s very cold before mixing. If you use regular butter, you might need to chill the base mixture for 15 minutes before pressing it in.
For the filling, we use coconut cream, which is the thick, fatty part you scoop off the top of a can of full-fat coconut milk that has been refrigerated overnight. This cream is crucial for that rich, dairy-free mouthfeel. If you can’t find or don’t like coconut, you can sometimes substitute it with a very thick, plain Greek yogurt, but be warned—you might need to add a little extra maple syrup for sweetness since yogurt is tangier. Also, if you are making these for someone with a nut allergy (other than pistachio), this recipe gets tricky fast! The oat base is naturally gluten-free if you use certified gluten-free oats, which is a nice bonus for many people.
Tips for Achieving Flawless Pistachio Cream Bars
I’ve definitely had a few batches of these go sideways when I rushed things, so listen up! The biggest pitfall with **Pistachio Cream Bars** is usually the base crumbling when you try to slice it. That happens if you don’t press hard enough. Seriously, use the bottom of a glass and really compact that oat mixture into the corners—it needs to be solid!
Another common issue is the cream layer not setting up right. If your cream seems too soft after the initial chill, it means you added too much of the watery coconut milk. Don’t panic! Pop it back in the freezer for another 30 to 45 minutes. A super-firm freeze guarantees clean cuts for perfect **Pistachio Cream Bars**. Remember, these bars are happiest when they are kept chilled!
Storing and Serving Your Pistachio Cream Bars
The best part about these bars is that they are freezer-friendly! Once you slice them, I like to place them in a single layer in an airtight container separated by parchment paper. They hold up beautifully in the refrigerator for about five days, but honestly, they taste best when served straight from the chill. If you freeze them, just let your **Pistachio Cream Bars** sit on the counter for about 10 minutes before serving. That little bit of softening brings out the creamy richness perfectly!
Frequently Asked Questions About Pistachio Cream Bars
I get so many great questions about these creamy bars! Since they are no-bake, people often have specific concerns about setting them up right. Here are the top things I hear about making the best **Pistachio Cream Bars**.
Q1. Can I use pre-ground pistachio flour instead of blending my own?
You certainly can! If you use pre-ground flour, you might find the cream layer sets up even faster. However, sometimes pre-ground nuts can be a little drier, so keep a tiny splash of coconut milk handy just in case your filling seems too stiff to spread evenly over that oat base.
Q2. Do I have to use maple syrup, or can I use honey?
For these **Pistachio Cream Bars**, I strongly recommend sticking to maple syrup, especially if you want to keep them totally vegan. Honey works fine for texture, but it does have a distinct flavor that might compete with the delicate pistachio taste. If you are okay with honey, feel free to swap it 1:1! The FDA provides guidance on food additives like sweeteners.
Q3. My oat base is crumbling when I try to slice the bars. What went wrong?
That’s usually a pressing issue! When you make the base, you need to compact it really firmly into the pan. Think about pressing down hard with a flat measuring cup until that layer feels dense and solid. If you don’t press it enough, the base won’t hold together when you try to cut those beautiful, creamy bars.
Q4. What kind of coconut cream works best for the filling?
You need the thick, solidified cream from a can of full-fat coconut milk that has been chilled in the fridge overnight. Do not use the liquid part at the bottom of the can! Scooping out just the thick white part ensures you get that luxurious, rich texture that makes these nut dessert bars so satisfying. Understanding the science behind fats solidifying when chilled can be helpful for baking success.
Sharing Your Delicious Pistachio Cream Bars Experience
Honestly, seeing your creations makes my day! These **Pistachio Cream Bars** are such a fun, easy recipe to share with friends or neighbors. If you give this recipe a try—and I really hope you do—please let me know how they turned out in the comments below. I love hearing if you added a little extra zest or used a different kind of chopped nut on top! For more kitchen inspiration, check out my contact page for recipe requests.
Sharing Your Delicious Pistachio Cream Bars Experience
Honestly, seeing your creations makes my day! These **Pistachio Cream Bars** are such a fun, easy recipe to share with friends or neighbors. If you give this recipe a try—and I really hope you do—please let me know how they turned out in the comments below. I love hearing if you added a little extra zest or used a different kind of chopped nut on top!
Print
Stunning Pistachio Cream Bars: 12 Easy No-Bake Delights
- Total Time: 2 hours 15 minutes
- Yield: 12 bars 1x
- Diet: Vegetarian
Description
Enjoy these simple Pistachio Cream Bars, featuring a crunchy oat base, a rich pistachio cream filling, and a nutty topping. This recipe is easy to make and perfect for a satisfying treat.
Ingredients
- 1½ cups oat flour
- ⅓ cup coconut oil
- 2 tbsp maple syrup
- ½ cup blended pistachios
- ⅓ cup coconut cream
- ½ cup chopped pistachios
Instructions
- Line an 8×8 pan.
- Press the base ingredients into the pan firmly.
- Spread the pistachio cream evenly over the base layer.
- Sprinkle the chopped pistachios on top of the cream layer.
- Freeze for 2 hours until firm.
- Slice the mixture into individual bars before serving.
Notes
- Store chilled.
- Prep Time: 15 minutes
- Cook Time: 0 minutes
- Category: Dessert
- Method: No Bake
- Cuisine: American
Nutrition
- Serving Size: 1 bar
- Calories: 220
- Sugar: 5g
- Sodium: 15mg
- Fat: 16g
- Saturated Fat: 8g
- Unsaturated Fat: 8g
- Trans Fat: 0g
- Carbohydrates: 18g
- Fiber: 3g
- Protein: 5g
- Cholesterol: 0mg